You may expect that creative lighting options and flexibility would be an area where traditional photographic techniques have an advantage over our StyleShoots technology, but this could not be further from the truth.
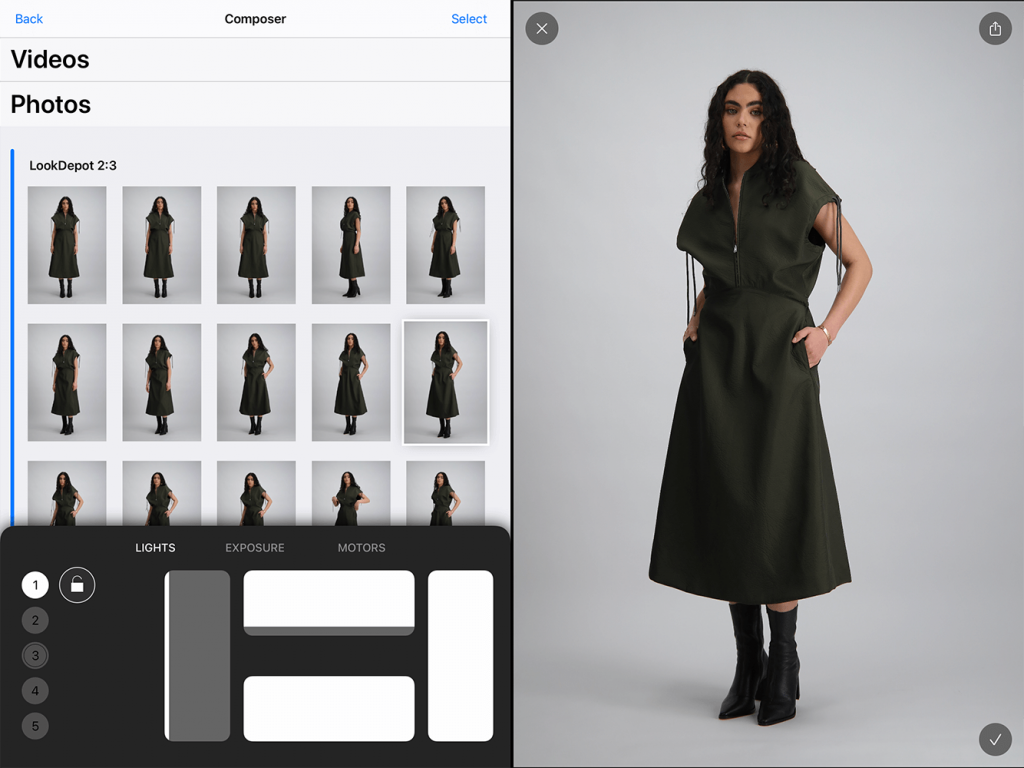
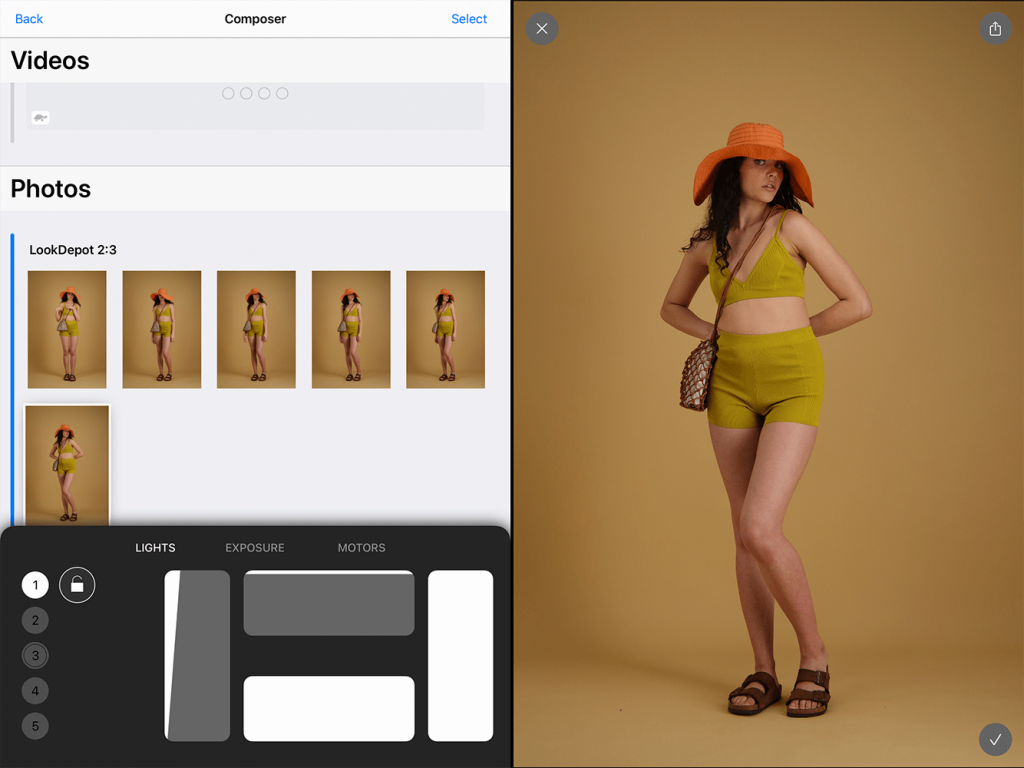
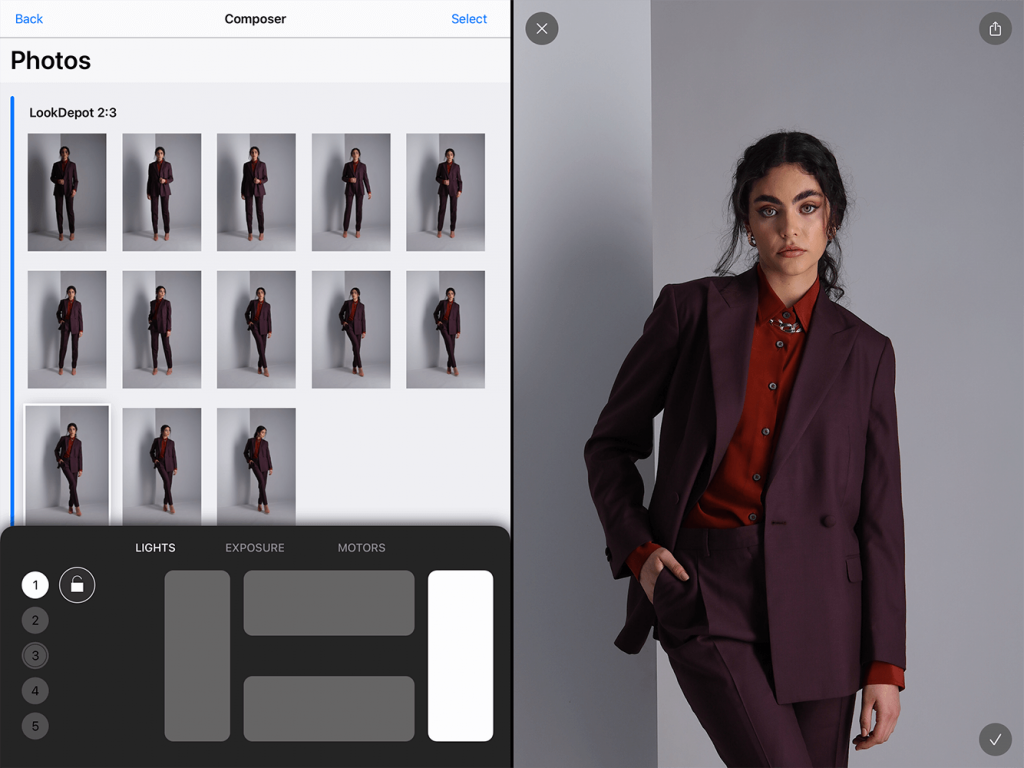
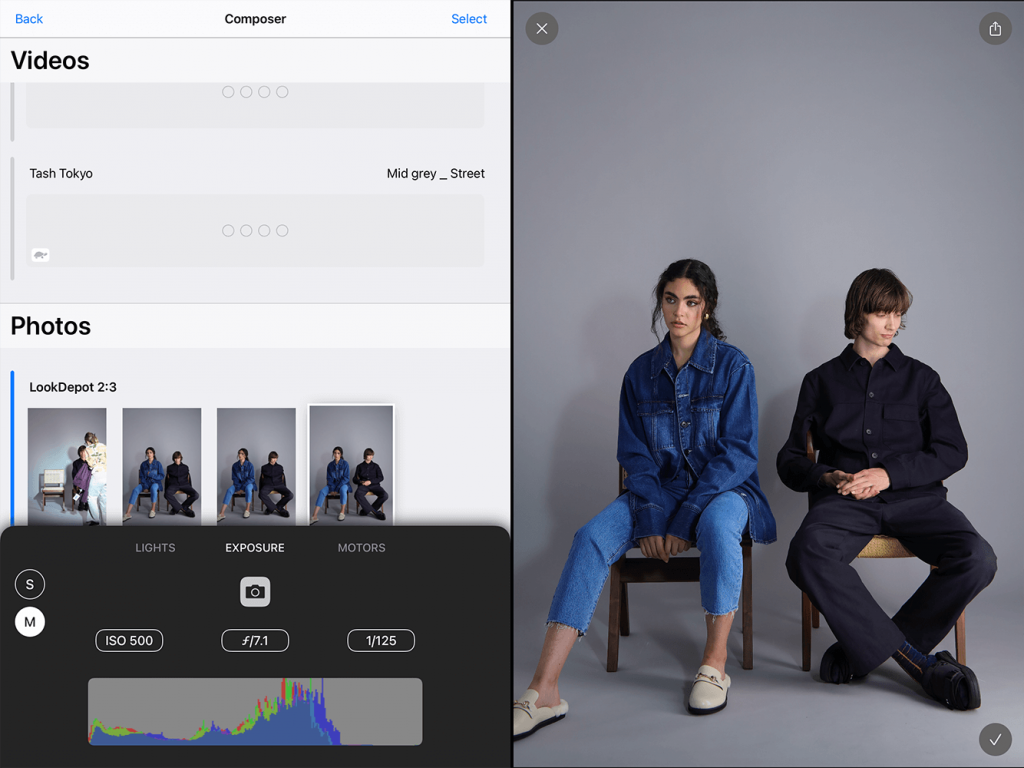
With the extremely user-friendly interface that StyleShoots Live supplies, you can change the lighting dramatically with just a few touches on the iPad. Within seconds you can change the light, see it live, and save it within your presets to ensure maximum consistency.When shooting models, this is a vital thing to look out for. Direction, intensity and overall mood are key.
We’ve pulled together a guide to support lighting your next on-model shoot. Take a look and experiment with these ideas, we’d love to see what you come up with.
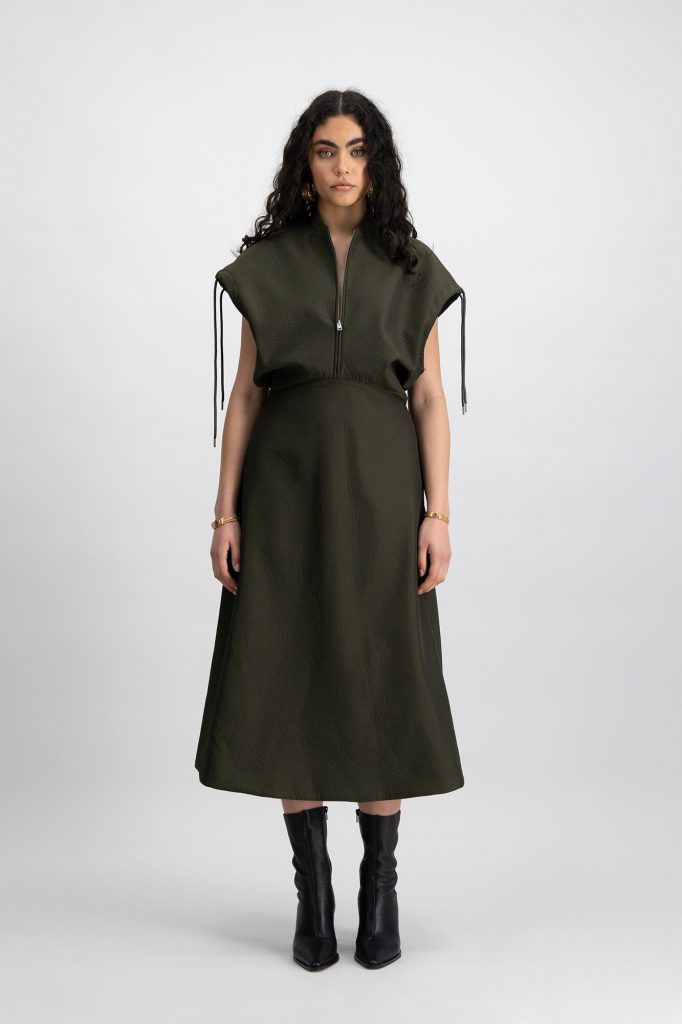
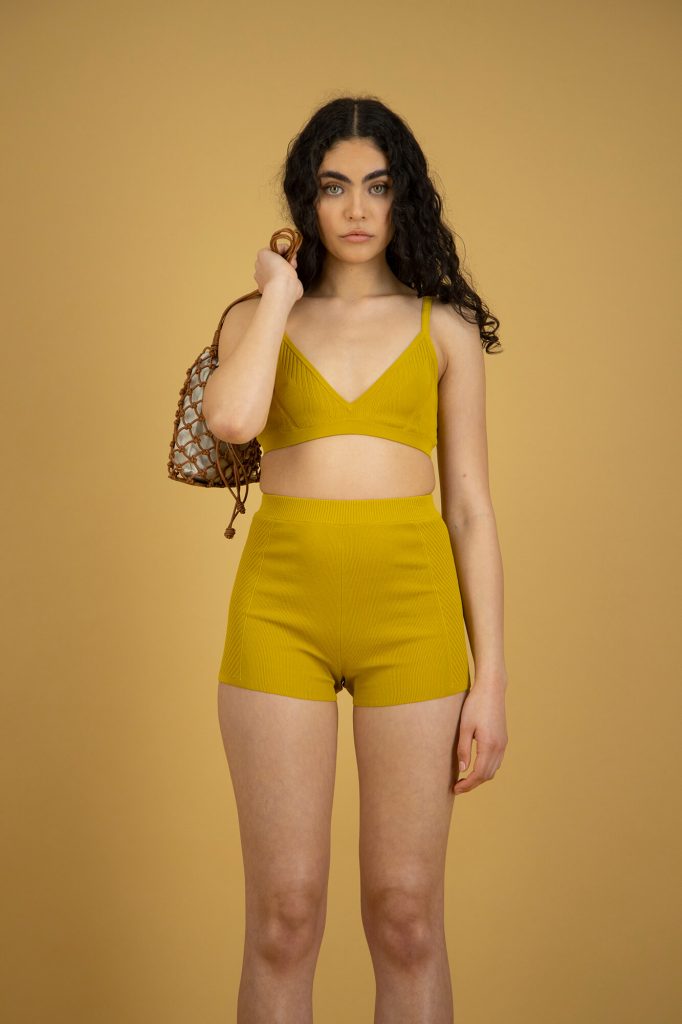
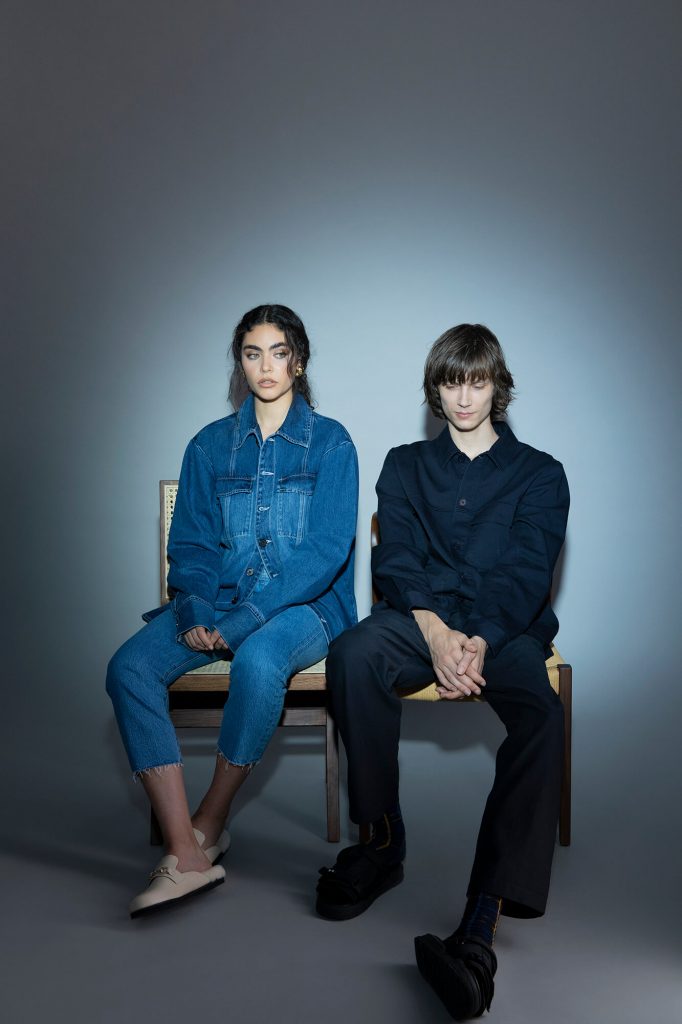
LOOK ONE: CRISP ECOMMERCE
The key to producing crisp ecommerce imagery is to have one main light source. This will help you avoid multiple shadows and cross lighting which can appear unnatural. Choose one side light to act as your “key” light and use the light on the other side as your “fill” light. This fill light will determine how much contrast your final image has.
Pulling the fill light down creates a more directional shadow and gives soft contrast to one side of the dress. This contrast is what helpsemphasise the interesting texture and details of the garment.
By keeping the back light and front light up, the light is being spread and bounced around to avoid any harsh or distracting shadows. This keeps the image soft and neutral, perfect for an accurate representation of your garments that is vital to any ecommerce store.
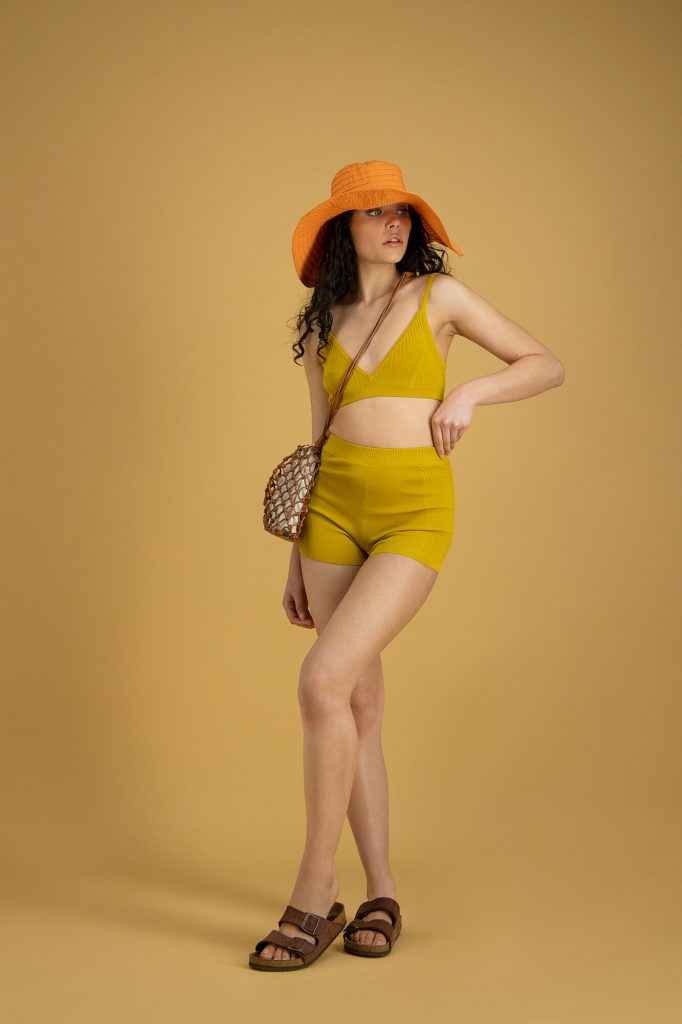
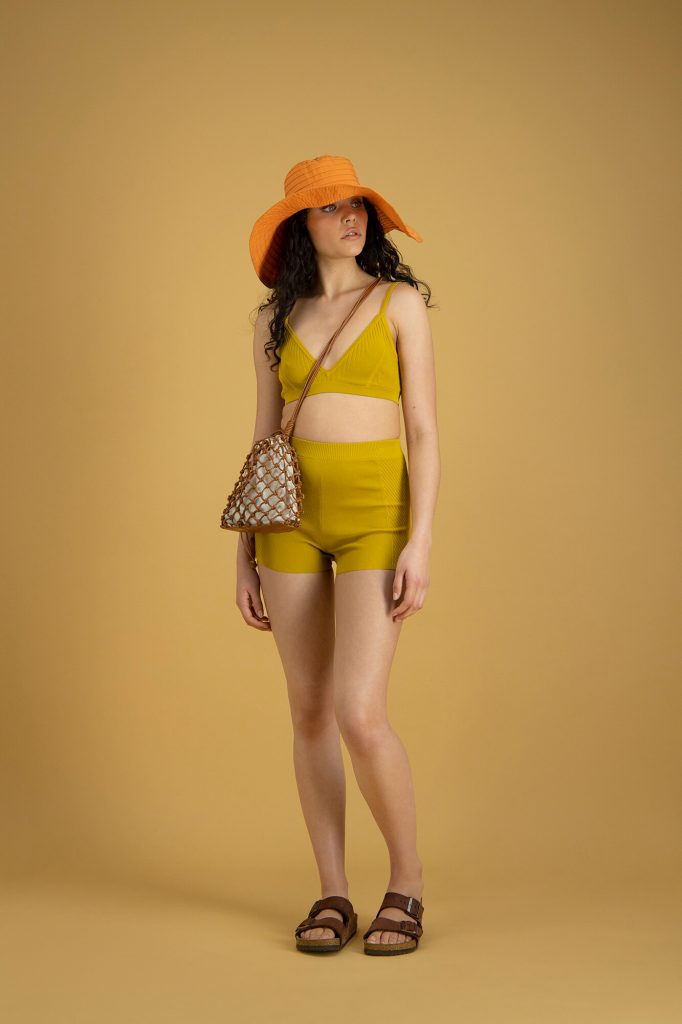
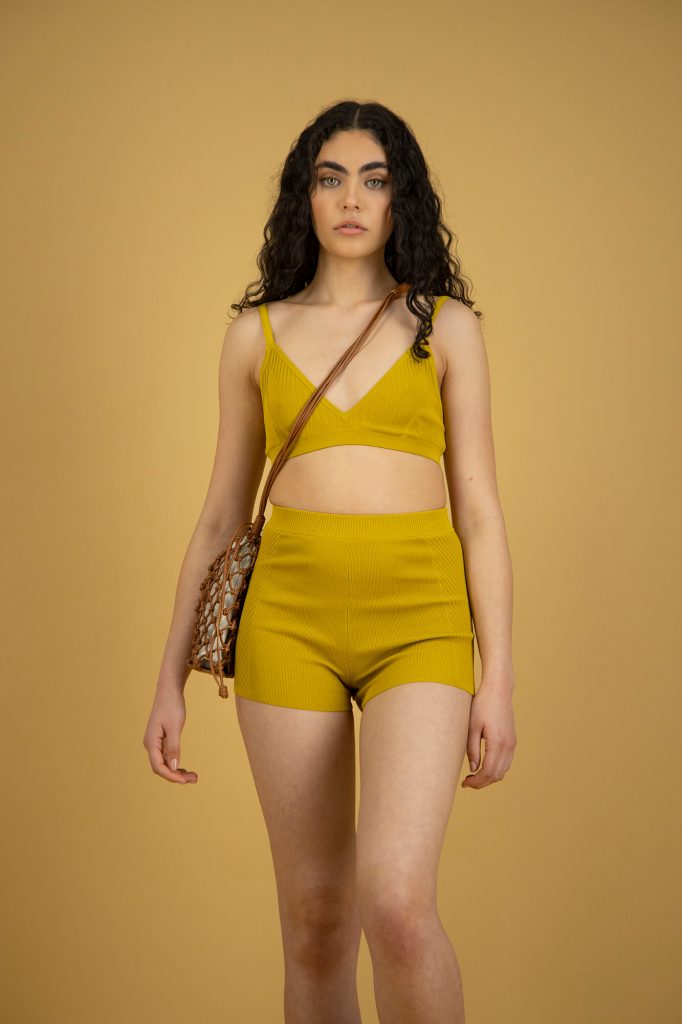
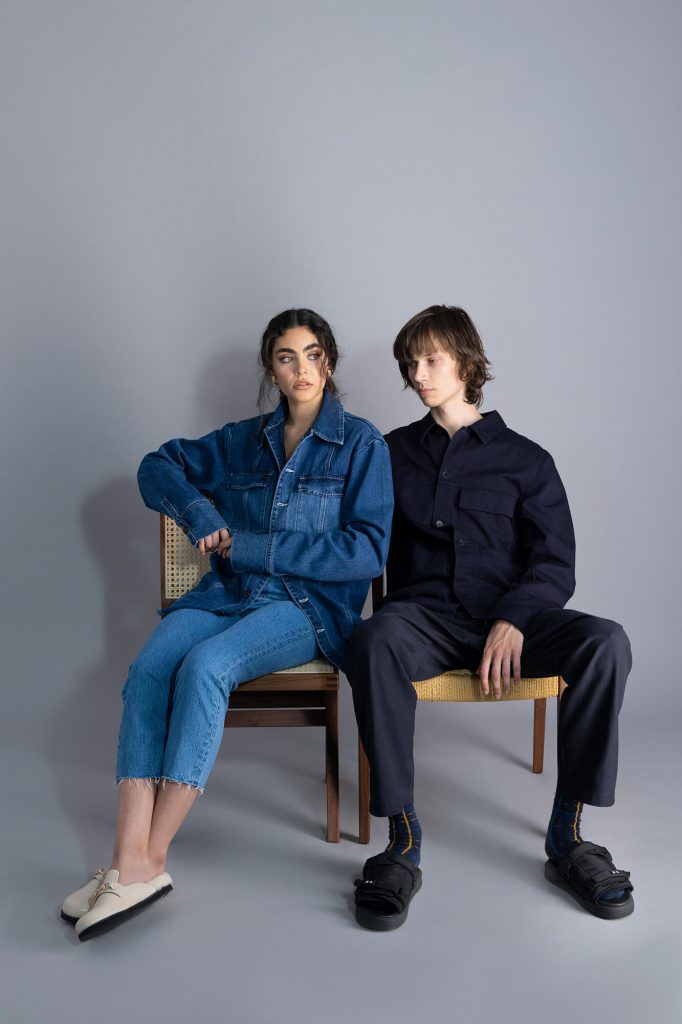
LOOK TWO: COLOURED BACKDROPS
Customise the Live machines stage to achieve dramatically different looks. Simply changing up the background colour will produce different moods and react with the light differently.
Using a colour that is similar tones to the model and their garment helps to create a soft, halo-like effect. With your key light on and your fill light lowered, harsher contrast and directional shadows are created. This gives the final image more depth. Additionally, lowering the back lights pulls the model further away from the background. This is what we refer to as a “halo-like” effect. It creates separation between the backdrop and the model, illuminating the model and producing a clear focal point for consumers.
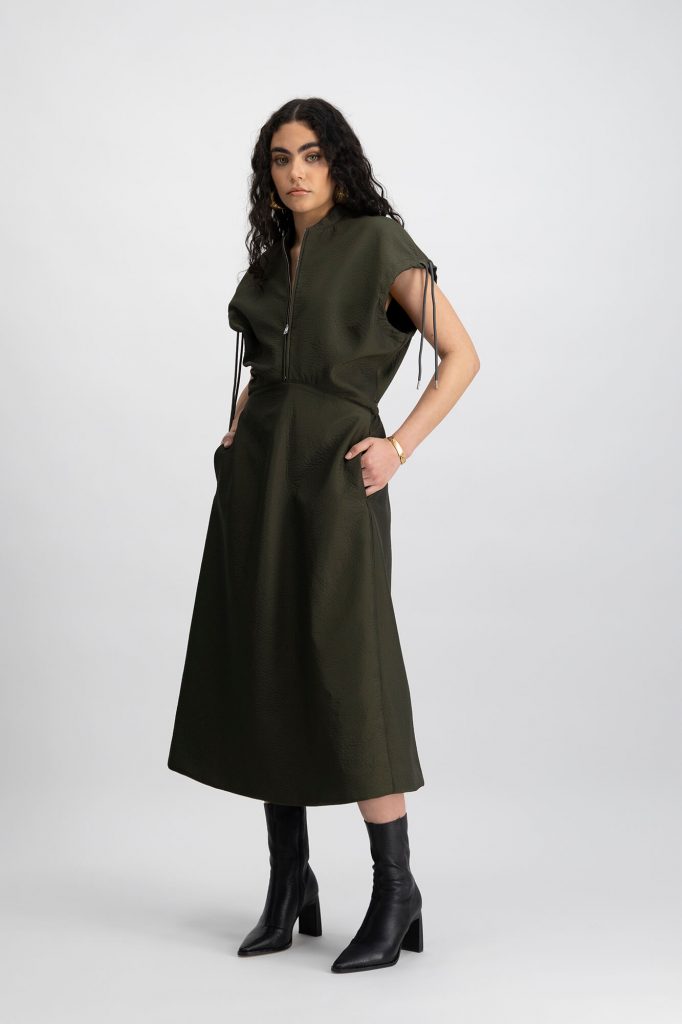
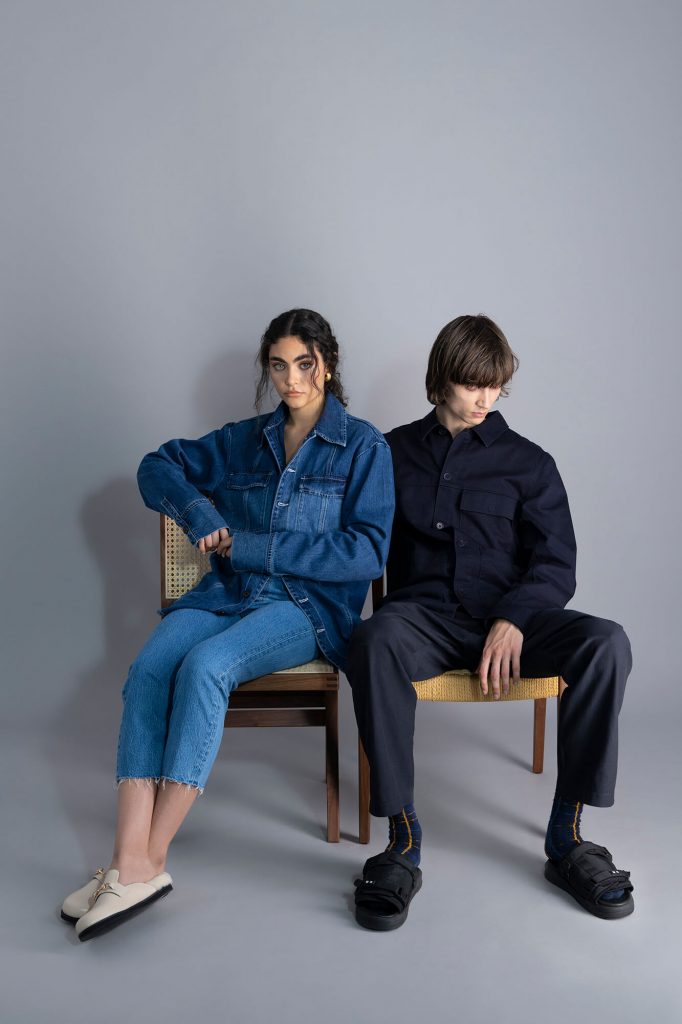
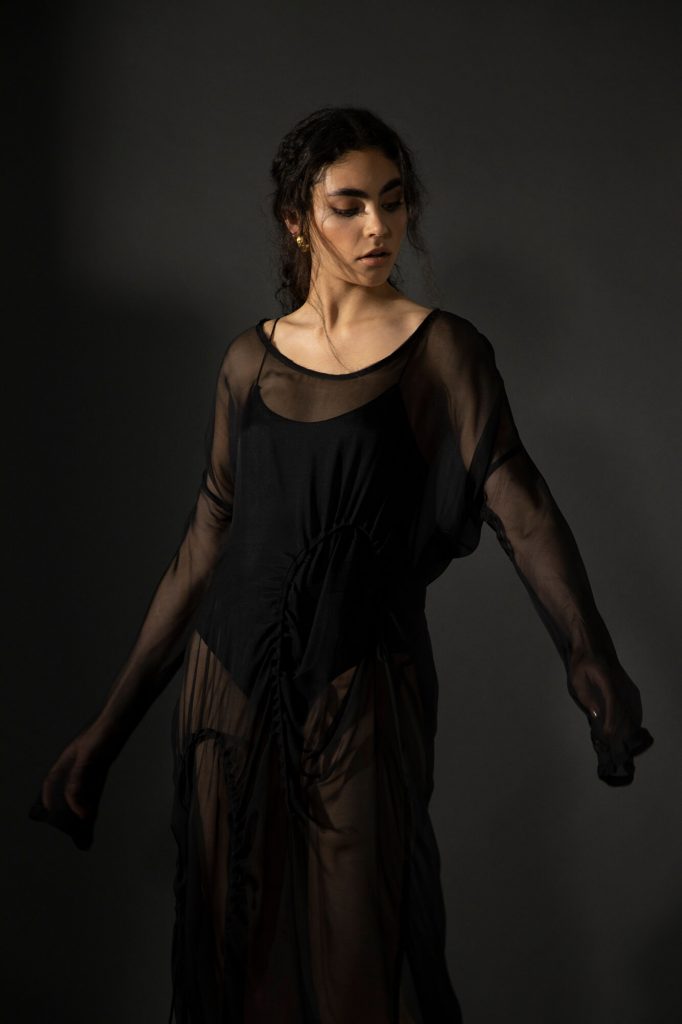
LOOK THREE: SHADOWS
Harsh shadows can also easily be created using the touch controlled lighting settings. By reducing down all the lights other than your key light, you create one single light source. This pushes the shadow outwards from the model further than the above examples where you make use of the fill light. To emphasise the shadow further, you can place plinths, temp walls and other structures so that the shadow casts upwards.
Position your model to face the light and ensure that the garment is lit accurately. This will focus the light around your models face and chest, creating a harsh fall out on the other side.
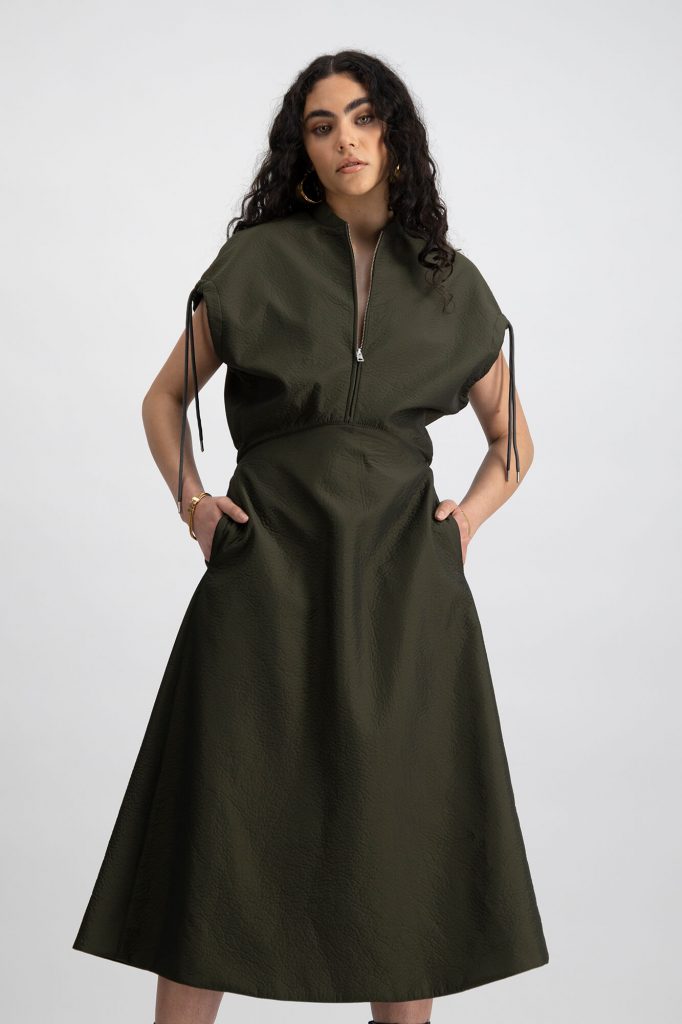
LOOK FOUR: SPOTLIGHT
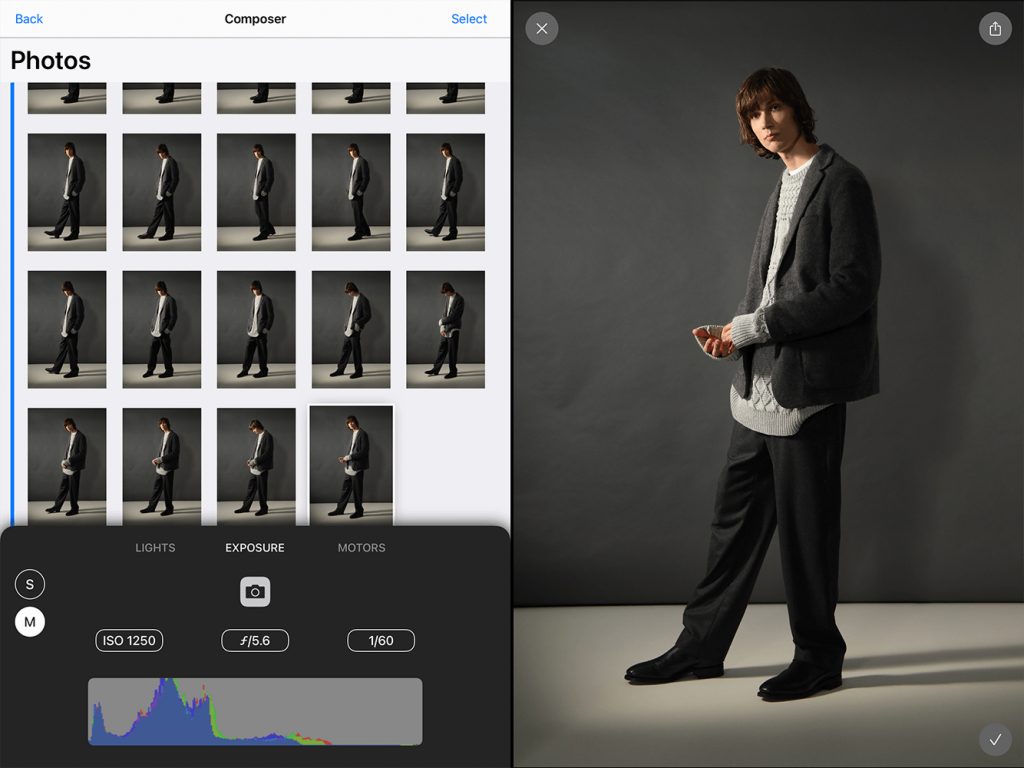
Live is the perfect stage for creative e-commerce and social content. To elevate your imagery even further, you can play around with external lights and manual settings.
The Live Machine also offers the option to change from “simple” exposure settings, to manual ones. Changing these settings gives you the opportunity to create different depths, directions and shadowing.
You can also lower these lights and bring in an external spotlight. The less opposing light you have coming from the machine, the harsher this spotlight will appear. Content in this style is perfect for social, elevated e-commerce and other digital channels. It takes your assets to another level, and gives your consumers an opportunity to see the products in a more creative, real-world setting.
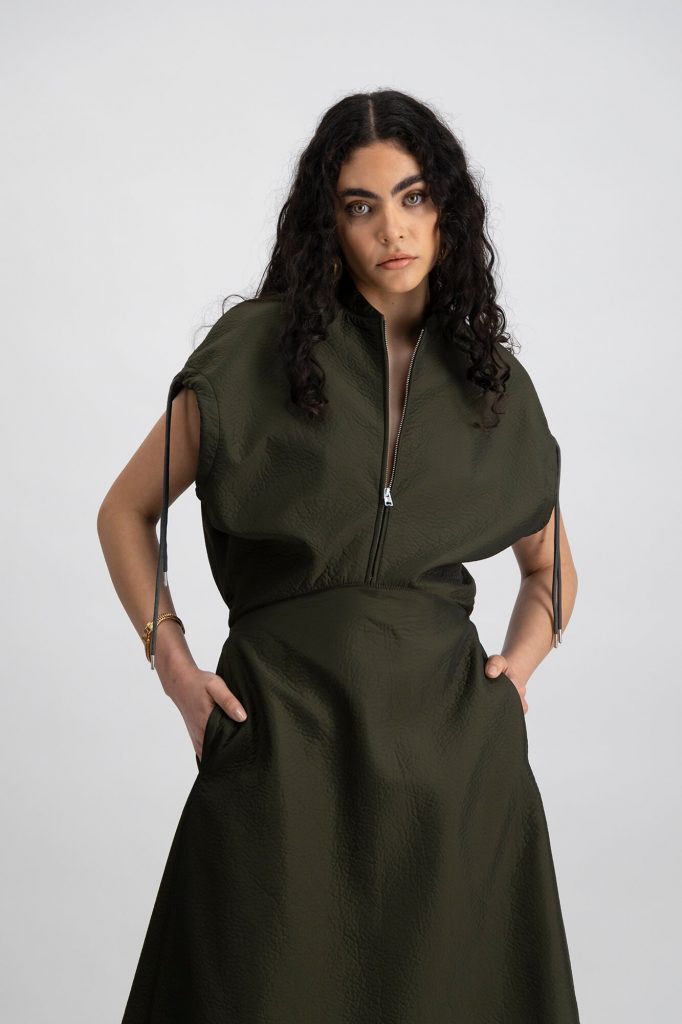
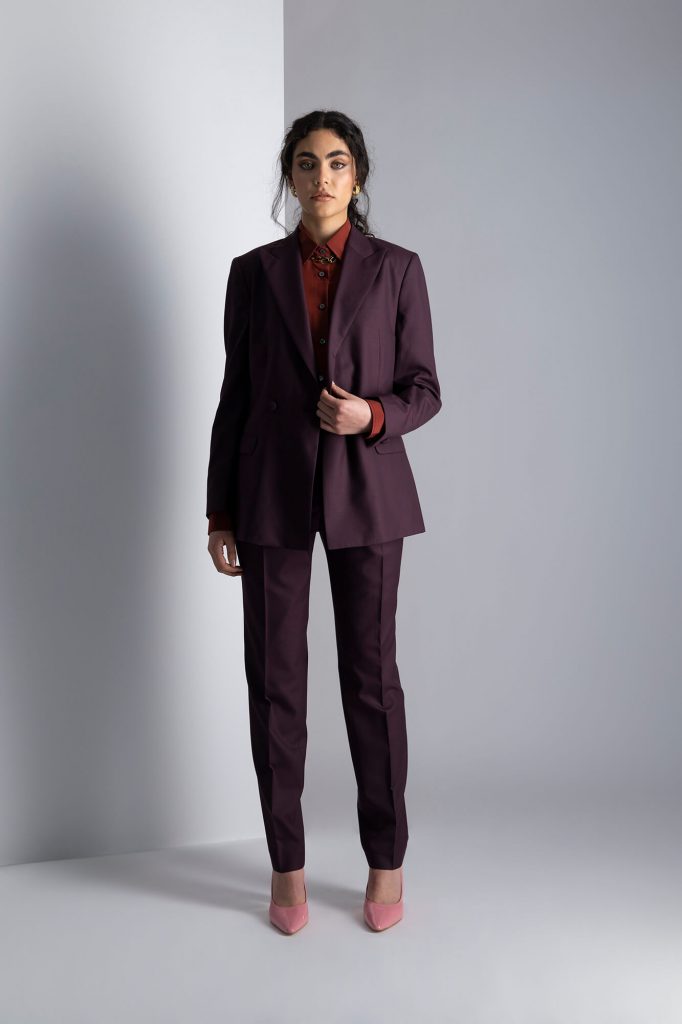
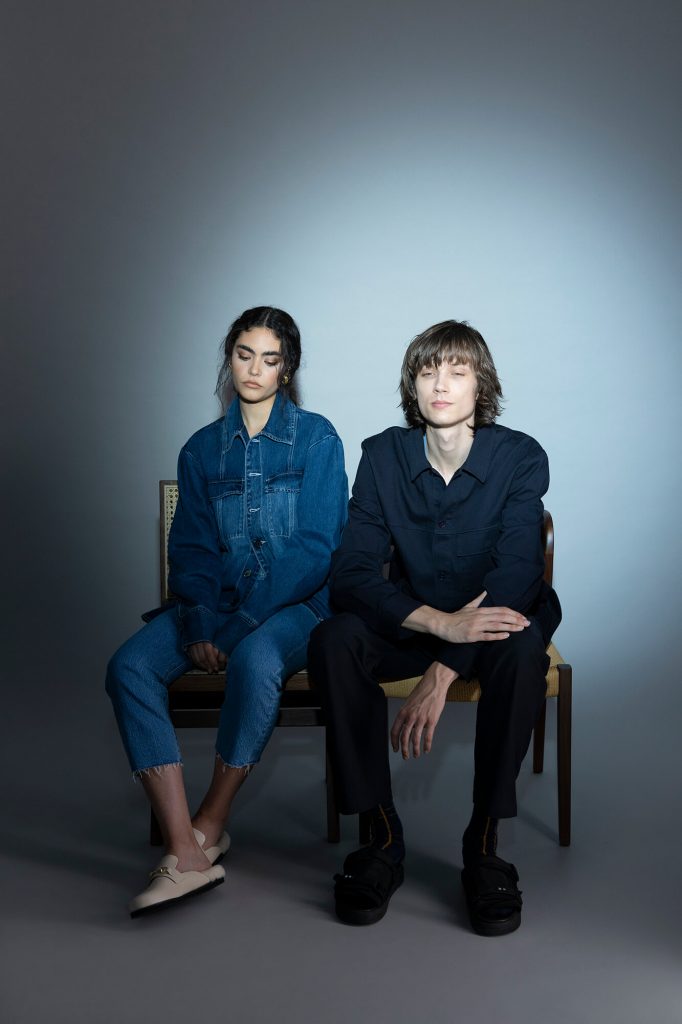
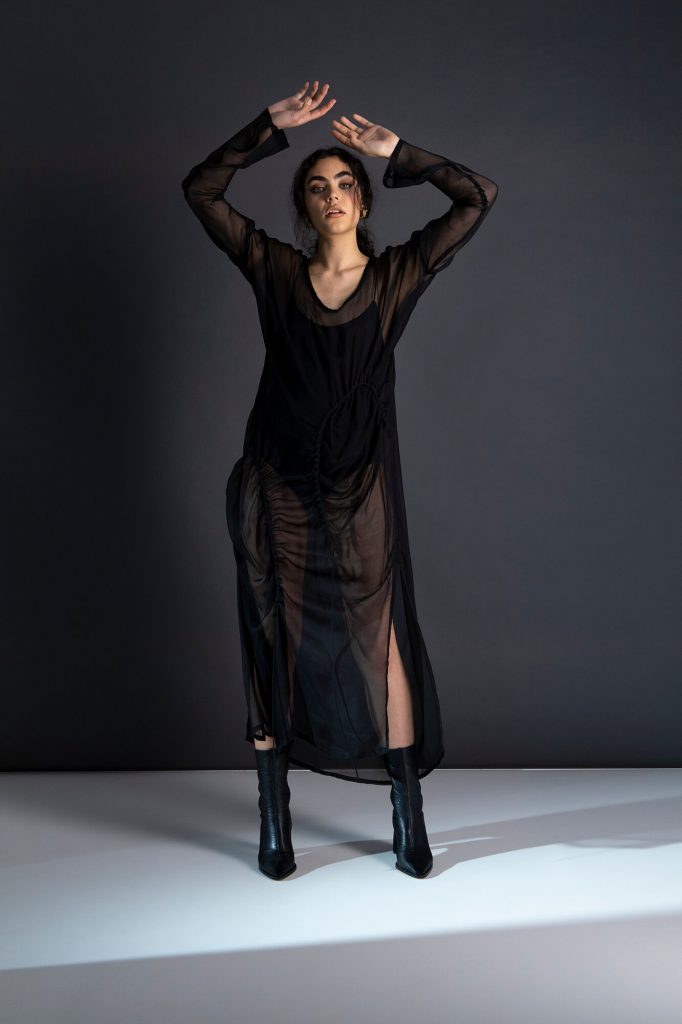
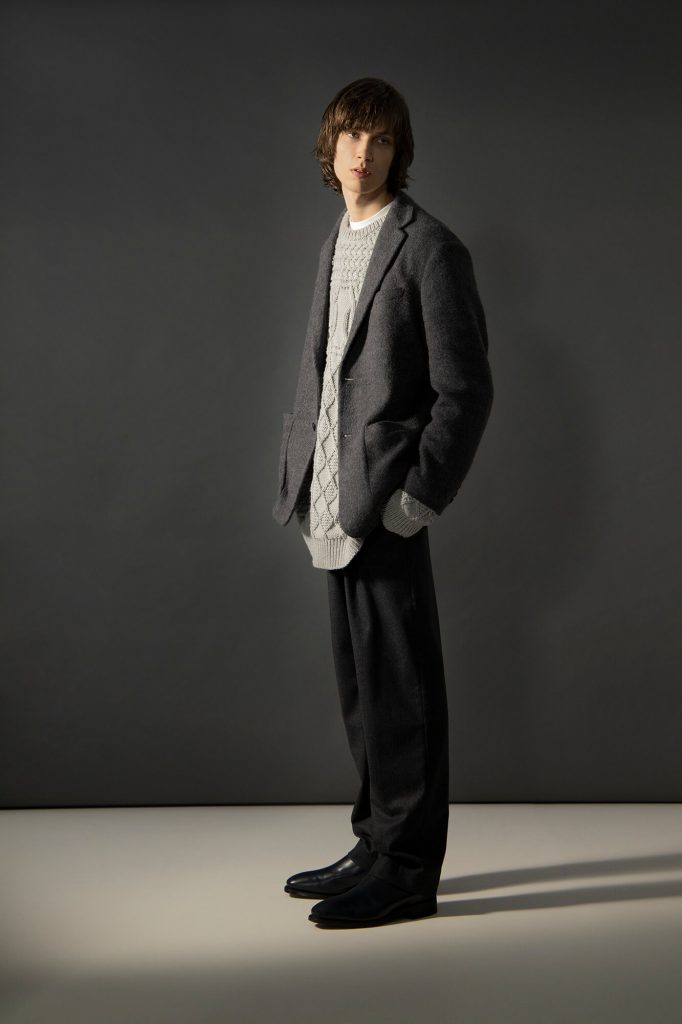
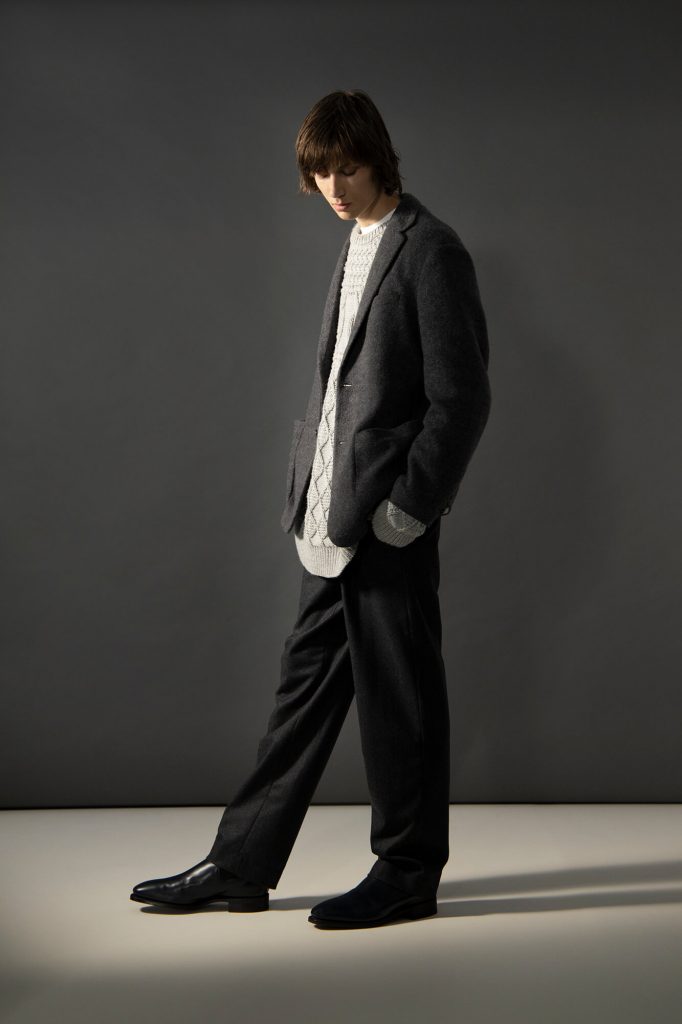
LOOK FIVE: MOODY
These images were created by pulling all lights down on the iPad, adjusting the manual exposures and adding a diffused external light on one side of the Live machine’s stage. Unlike the spotlight effect, a diffused light allows the light to bounce around, create warmth and illuminate skin tones.
The use of a light coloured flooring contrasts with the dark background, defining and exaggerated the shadows.
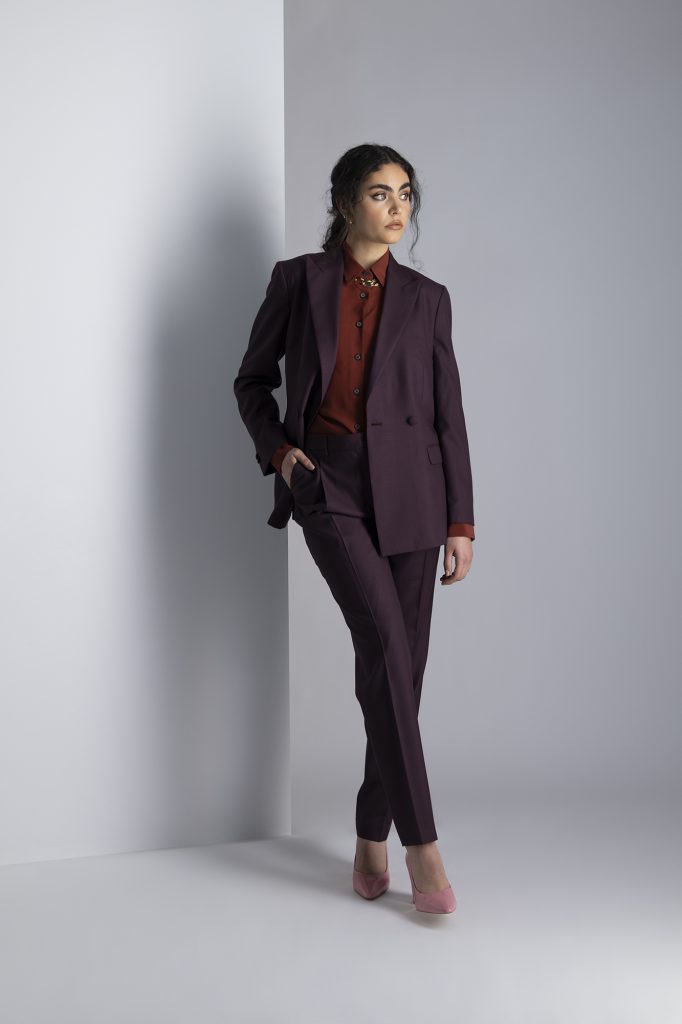
The placement of your models in this setting is vital. Harsh fall out will appear on one side of the subject, create a split light effect. The areas facing into the light will be lit more, and the areas turned away from the light will appear dark and moody.
Simple things like moving the angle of the external light, adding light from the Live machine in and changing manual exposures can change this look drastically. It’s all up to you!
More lighting tips & tricks coming soon.
In the meantime, you can find out more about our Live Machine here: